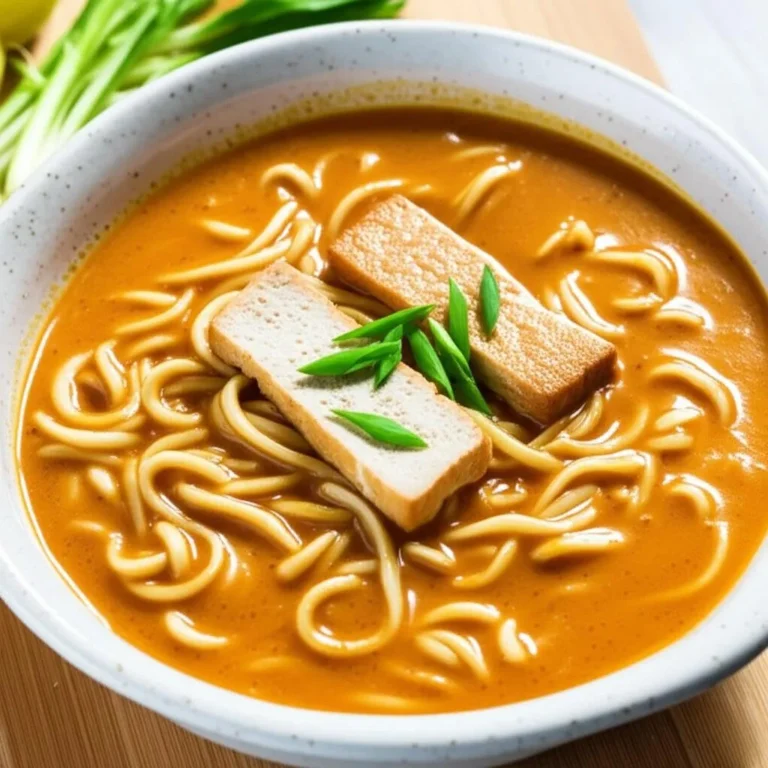
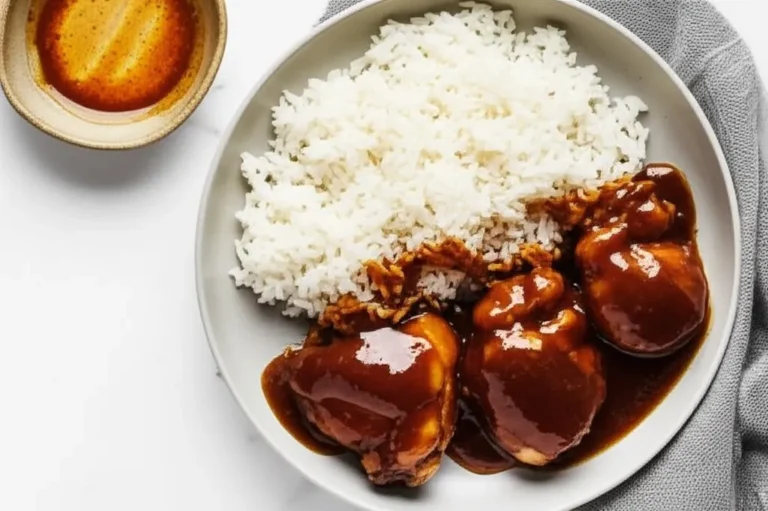
Looking for warm and comforting meals this winter? Discover quick and easy winter dinner ideas ready in under 30 minutes! These recipes are perfect for chilly nights, from hearty soups and stews to one-pan meals and cozy comfort foods. Save time in the kitchen while enjoying delicious, homemade winter meals that the whole family will love. Try them today!
1️⃣ Classic Spaghetti Carbonara – Creamy, cheesy, and full of flavor! 🍝

Learn how to make the perfect Classic Spaghetti Carbonara with this easy, authentic recipe! This creamy, cheesy dish is packed with rich flavors and is made with crispy pancetta, eggs, Parmesan cheese, and perfectly cooked pasta. No cream is needed—just simple ingredients and traditional Italian cooking techniques. Ready in just 20 minutes, this carbonara is a must-try for pasta lovers!
Ingredients:
- 400g spaghetti
- 150g pancetta or guanciale, diced
- 2 large eggs
- 100g Parmesan cheese, grated
- 2 cloves garlic, minced
- Salt and black pepper to taste
- Fresh parsley, chopped (for garnish)
Instructions:
- Cook the Spaghetti:
Bring a large pot of salted water to a boil. Add the spaghetti and cook according to package instructions until al dente. Reserve about 1 cup of pasta water, then drain the spaghetti. - Prepare the Sauce:
In a bowl, whisk together the eggs and grated Parmesan cheese until well combined. Set aside. - Cook the Pancetta:
In a large skillet over medium heat, add the diced pancetta or guanciale. Cook until crispy and golden, about 5-7 minutes. Add the minced garlic and cook for an additional minute, being careful not to burn it. - Combine Pasta and Sauce:
Add the cooked spaghetti to the skillet with the pancetta and garlic, tossing to combine. Remove the skillet from heat. Quickly pour the egg and cheese mixture over the pasta, stirring vigorously to create a creamy sauce. If the sauce is too thick, gradually add reserved pasta water until the desired consistency is reached. - Season and Serve:
Season with salt and freshly ground black pepper to taste. Serve immediately, garnished with chopped parsley and extra Parmesan cheese if desired.
Enjoy your delicious Classic Spaghetti Carbonara! 🍝
2️⃣ Juicy Garlic Butter Steak – Perfectly seared and tender every time! 🥩
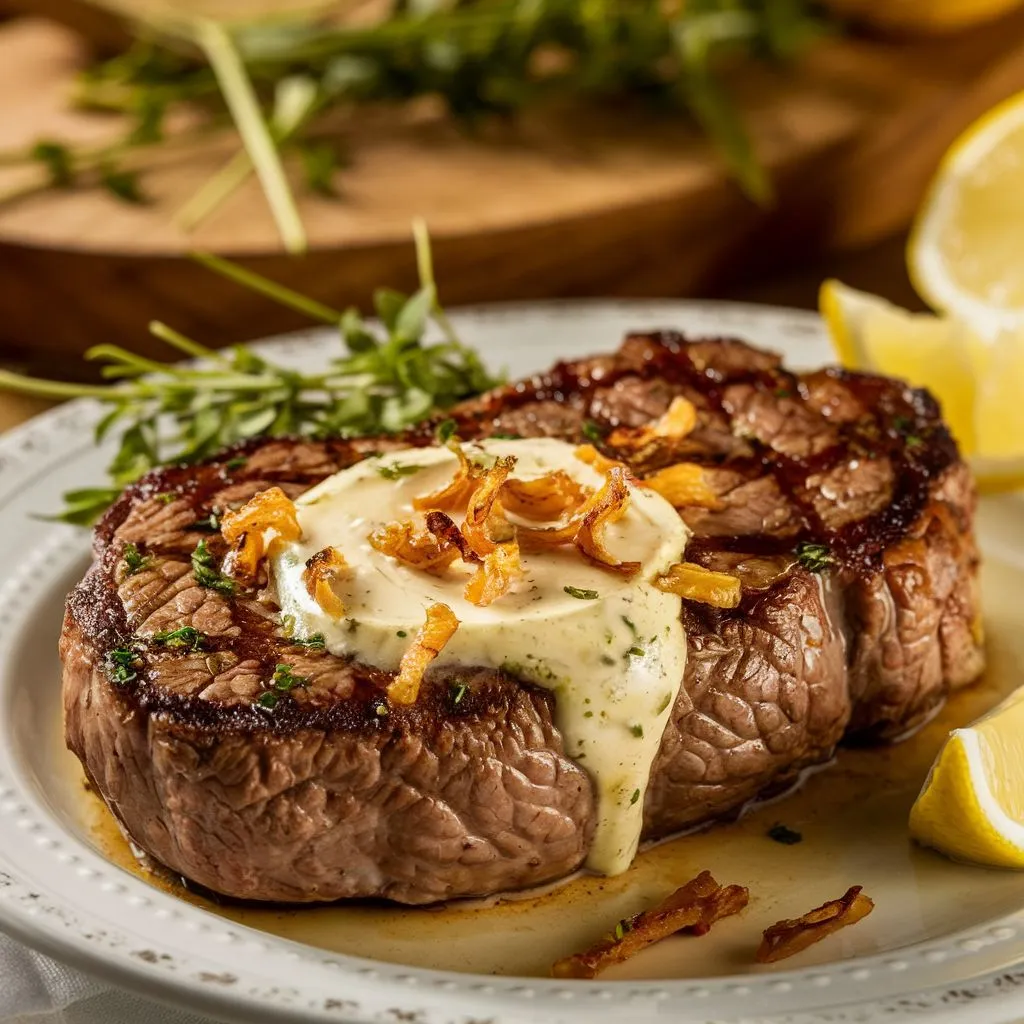
Make the perfect Juicy Garlic Butter Steak at home with this easy recipe! Seared to perfection, tender, and loaded with rich, buttery garlic flavor, this steak is a restaurant-quality dish you can cook in minutes. Whether grilled, pan-seared, or cooked in a cast-iron skillet, this foolproof recipe guarantees mouthwatering results every time. Pair it with roasted veggies or mashed potatoes for the ultimate steakhouse experience!
Ingredients:
- 2 ribeye or sirloin steaks (about 1 inch thick)
- Salt and black pepper to taste
- 2 tablespoons olive oil
- 3 tablespoons unsalted butter
- 4 cloves garlic, minced
- Fresh thyme or rosemary (optional, for garnish)
Instructions:
- Prepare the Steaks:
Remove the steaks from the refrigerator and let them sit at room temperature for about 30 minutes. Season both sides generously with salt and black pepper. - Heat the Skillet:
In a large cast-iron skillet or heavy-bottomed pan, heat the olive oil over medium-high heat until shimmering. - Sear the Steaks:
Carefully add the steaks to the hot skillet. Cook for about 4-5 minutes on one side without moving to develop a nice crust. - Flip and Add Butter:
Flip the steaks over and add the butter and minced garlic to the skillet. Cook for an additional 4-5 minutes, basting the steaks with the melted butter using a spoon. For medium rare, the internal temperature should reach about 130°F (54°C). - Rest the Steaks:
Remove the steaks from the skillet and transfer them to a cutting board. Let them rest for 5-10 minutes to allow the juices to redistribute. - Serve:
Slice the steaks against the grain and drizzle with the garlic butter from the skillet. Garnish with fresh thyme or rosemary, if desired.
Enjoy your Juicy Garlic Butter Steak! 🥩
3️⃣ Crispy Honey Garlic Chicken – Sweet, savory, and delicious! 🍗
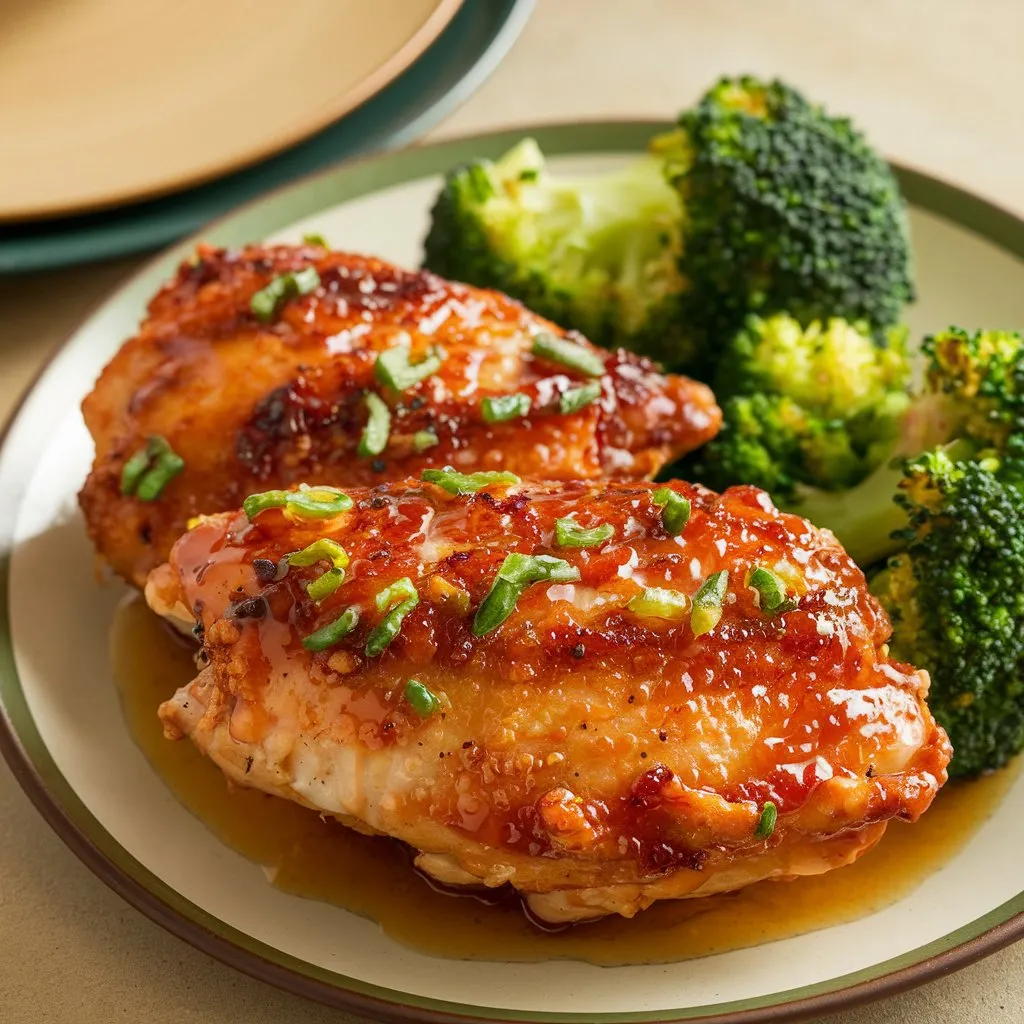
Crispy Honey Garlic Chicken is the perfect blend of sweet, savory, and crunchy! This easy recipe features golden, crispy chicken coated in a rich honey garlic sauce that’s bursting with flavor. Made with simple ingredients and ready in under 30 minutes, this dish is a family favorite. Serve it with rice, noodles, or veggies for a delicious homemade meal that’s better than takeout!
Ingredients:
- 1 lb (450g) chicken thighs or breasts, cut into bite-sized pieces
- 1 cup all-purpose flour
- 1 teaspoon salt
- 1 teaspoon black pepper
- 1 teaspoon garlic powder
- 1 teaspoon onion powder
- 2 large eggs, beaten
- Vegetable oil (for frying)
For the Honey Garlic Sauce:
- 1/2 cup honey
- 1/4 cup soy sauce
- 4 cloves garlic, minced
- 1 tablespoon rice vinegar (or apple cider vinegar)
- 1 teaspoon sesame oil (optional)
- 1 tablespoon cornstarch mixed with 2 tablespoons water (for thickening)
Instructions:
- Prepare the Chicken:
In a bowl, mix the flour, salt, black pepper, garlic powder, and onion powder. In another bowl, place the beaten eggs. - Coat the Chicken:
Dip each piece of chicken into the egg, then dredge it in the flour mixture, ensuring it’s fully coated. - Fry the Chicken:
In a large skillet or deep pan, heat about 1 inch of vegetable oil over medium-high heat. Once hot, carefully add the coated chicken pieces in batches and fry until golden brown and crispy, about 5-7 minutes. Remove the chicken and place it on paper towels to drain excess oil. - Make the Honey Garlic Sauce:
In a separate saucepan over medium heat, combine the honey, soy sauce, minced garlic, rice vinegar, and sesame oil. Bring to a simmer. Add the cornstarch mixture and stir until the sauce thickens, about 2-3 minutes. - Combine Chicken and Sauce:
Add the crispy chicken to the sauce, tossing it to coat each piece evenly. - Serve:
Serve the Crispy Honey Garlic Chicken over rice or noodles, and garnish with sliced green onions or sesame seeds if desired.
Enjoy your delicious Crispy Honey Garlic Chicken! 🍗
4️⃣ Easy One-Pot Chicken Alfredo – A creamy, dreamy pasta dish! 🍲
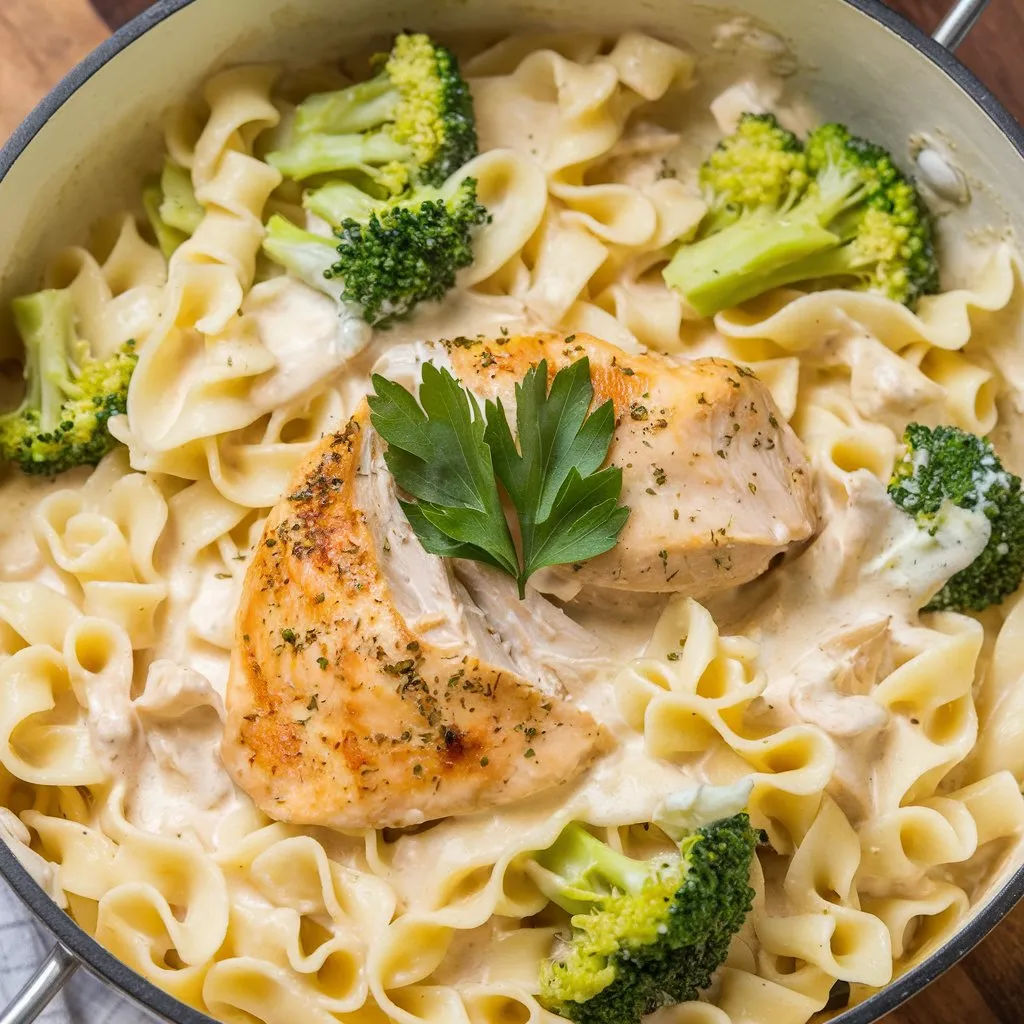
Indulge in the creamy, dreamy flavors of Easy One-Pot Chicken Alfredo! This simple recipe combines tender chicken, fettuccine pasta, and a rich Alfredo sauce, all cooked together in one pot for easy cleanup. Ready in just 30 minutes, this comforting dish is perfect for busy weeknights and guaranteed to satisfy your cravings. Serve it with garlic bread and a side salad for a complete meal that the whole family will love!
Ingredients:
- 1 lb (450g) boneless, skinless chicken breasts, sliced
- 2 tablespoons olive oil
- 3 cloves garlic, minced
- 4 cups chicken broth
- 12 oz (340g) fettuccine pasta
- 1 cup heavy cream
- 1 cup grated Parmesan cheese
- Salt and black pepper to taste
- Fresh parsley, chopped (for garnish)
Instructions:
- Sauté the Chicken:
In a large pot or Dutch oven, heat the olive oil over medium heat. Add the sliced chicken and season with salt and black pepper. Cook until the chicken is golden brown and cooked through, about 5-7 minutes. Remove the chicken from the pot and set aside. - Sauté the Garlic:
In the same pot, add the minced garlic and sauté for about 1 minute until fragrant. - Cook the Pasta:
Pour in the chicken broth and bring to a boil. Add the fettuccine pasta, stirring to ensure it’s submerged in the broth. Cook for about 10-12 minutes, stirring occasionally, until the pasta is al dente and most of the broth is absorbed. - Make the Alfredo Sauce:
Reduce the heat to low. Stir in the heavy cream and grated Parmesan cheese, mixing until the cheese is melted and the sauce is creamy. - Combine Chicken and Sauce:
Add the cooked chicken back to the pot, mixing to combine everything. Taste and adjust seasoning with more salt and pepper if needed. - Serve:
Serve the Easy One-Pot Chicken Alfredo in bowls, garnished with chopped parsley and extra Parmesan cheese if desired.
Enjoy your creamy, dreamy Easy One-Pot Chicken Alfredo! 🍲
5️⃣ Homemade Margherita Pizza – A classic with fresh ingredients! 🍕

Create the perfect Homemade Margherita Pizza with this easy recipe! Featuring a crispy, golden crust topped with fresh tomatoes, creamy mozzarella, and aromatic basil, this classic Italian dish is all about simple, high-quality ingredients. Ready in under an hour, this pizza is perfect for family dinners or casual gatherings. Customize it with your favorite toppings or enjoy it as is for a taste of Italy in your kitchen!
Ingredients:
For the Dough:
- 2 cups all-purpose flour
- 1 teaspoon instant yeast
- 1 teaspoon salt
- 3/4 cup warm water (about 110°F / 43°C)
- 1 tablespoon olive oil
For the Toppings:
- 1/2 cup pizza sauce (store-bought or homemade)
- 8 oz (225g) fresh mozzarella cheese, sliced
- Fresh basil leaves
- 1 tablespoon olive oil
- Salt and black pepper to taste
Instructions:
- Make the Dough:
In a mixing bowl, combine the flour, instant yeast, and salt. Add the warm water and olive oil and mix until a dough forms. Knead the dough on a lightly floured surface for about 5-7 minutes until smooth and elastic. - Let the Dough Rise:
Place the dough in a greased bowl, cover it with a kitchen towel or plastic wrap, and let it rise in a warm place for about 1 hour or until it doubles in size. - Preheat the Oven:
Preheat your oven to the highest setting (around 475°F / 245°C). If you have a pizza stone, place it in the oven to heat up as well. - Shape the Pizza:
Once the dough has risen, punch it down and transfer it to a floured surface. Roll or stretch the dough into a 12-inch circle or your desired shape. Transfer it to a parchment-lined baking sheet or a pizza peel if using a stone. - Add Toppings:
Spread the pizza sauce evenly over the dough, leaving a small border around the edges. Arrange the sliced mozzarella cheese on top, and sprinkle with salt and black pepper. - Bake the Pizza:
Transfer the pizza to the preheated oven (or onto the pizza stone) and bake for about 10-12 minutes or until the crust is golden brown and the cheese is bubbly and slightly browned. - Garnish and Serve:
Remove the pizza from the oven and immediately top it with fresh basil leaves and a drizzle of olive oil. Slice and serve it hot.
Enjoy your Homemade Margherita Pizza! 🍕
6️⃣ Hearty Beef Stew – The ultimate comfort food for chilly nights! 🥘
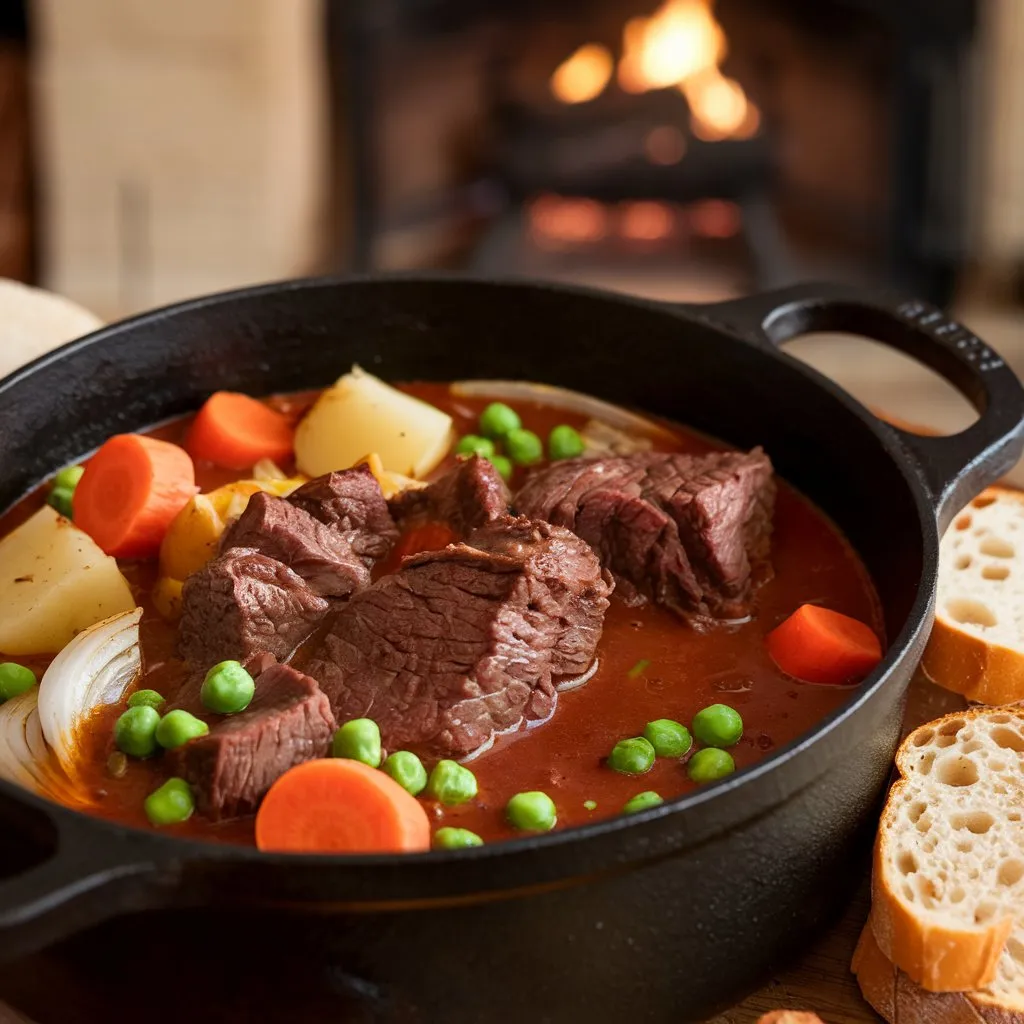
Warm up with a bowl of Hearty Beef Stew, the ultimate comfort food for chilly nights! This delicious recipe features tender chunks of beef simmered with carrots, potatoes, and hearty vegetables in a rich, flavorful broth. Perfect for meal prep or cozy dinners, this beef stew is easy to make and packed with nutrients. Serve it with crusty bread for a satisfying meal that will warm your heart and soul!
Ingredients:
- 2 lbs (900g) beef chuck, cut into 1-inch cubes
- Salt and black pepper to taste
- 2 tablespoons olive oil
- 1 large onion, chopped
- 3 cloves garlic, minced
- 4 cups beef broth
- 1 cup red wine (optional)
- 3 large carrots, sliced
- 2 medium potatoes, diced
- 2 stalks celery, chopped
- 2 bay leaves
- 1 teaspoon dried thyme
- 1 teaspoon dried rosemary
- 1 tablespoon Worcestershire sauce
- Fresh parsley, chopped (for garnish)
Instructions:
- Season the Beef:
Season the beef cubes with salt and black pepper. - Brown the Beef:
In a large Dutch oven or heavy pot, heat the olive oil over medium-high heat. Add the beef in batches, browning it on all sides. Remove the beef and set aside. - Sauté the Vegetables:
In the same pot, add the chopped onion and sauté for about 5 minutes until translucent. Add the minced garlic and cook for another minute until fragrant. - Add Liquid and Beef:
Pour in the beef broth and red wine (if using), scraping up any browned bits from the bottom of the pot. Return the browned beef to the pot. - Add Vegetables and Seasoning:
Stir in the carrots, potatoes, celery, bay leaves, thyme, rosemary, and Worcestershire sauce. Bring the mixture to a simmer. - Cook the Stew:
Cover the pot and reduce the heat to low. Let it cook for about 1.5 to 2 hours or until the beef is tender and the flavors meld together. Stir occasionally and check the seasoning, adjusting salt and pepper as needed. - Serve:
Remove the bay leaves before serving. Ladle the hearty beef stew into bowls and garnish with fresh chopped parsley.
Enjoy your Hearty Beef Stew! 🥘
7️⃣ Fluffy Buttermilk Pancakes – Light, airy, and perfect for breakfast! 🥞

Start your day right with Fluffy Buttermilk Pancakes! This easy recipe yields light and airy pancakes that are perfect for breakfast or brunch. Made with simple ingredients and buttermilk for that extra tenderness, these pancakes are quick to whip up and are ready in just minutes. Top them with maple syrup, fresh fruits, or whipped cream for a delicious morning treat that the whole family will love!
Ingredients:
- 1 cup all-purpose flour
- 2 tablespoons sugar
- 1 teaspoon baking powder
- 1 teaspoon baking soda
- 1/2 teaspoon salt
- 1 cup buttermilk (or milk with 1 tablespoon vinegar added)
- 1 large egg
- 2 tablespoons unsalted butter, melted (plus extra for cooking)
- 1 teaspoon vanilla extract (optional)
Instructions:
- Mix Dry Ingredients:
In a large mixing bowl, whisk together the flour, sugar, baking powder, baking soda, and salt until well combined. - Combine Wet Ingredients:
In another bowl, whisk together the buttermilk, egg, melted butter, and vanilla extract (if using) until smooth. - Combine Mixtures:
Pour the wet ingredients into the dry ingredients. Gently mix until just combined. Be careful not to overmix; a few lumps are okay. - Heat the Pan:
Heat a non-stick skillet or griddle over medium heat and lightly grease it with butter. - Cook the Pancakes:
Pour about 1/4 cup of batter for each pancake onto the hot skillet. Cook until bubbles form on the surface and the edges look set, about 2-3 minutes. Flip and cook for another 1-2 minutes or until golden brown and cooked through. - Serve:
Serve the fluffy buttermilk pancakes warm with your favorite toppings, such as maple syrup, fresh fruits, or whipped cream.
Enjoy your light and airy, Fluffy Buttermilk Pancakes! 🥞
8️⃣ Authentic Tandoori Chicken – Spicy, smoky, and bursting with flavor! 🔥

Experience the bold flavors of Authentic Tandoori Chicken, a classic Indian dish that’s spicy, smoky, and bursting with flavor! This easy recipe features chicken marinated in a blend of yogurt and aromatic spices and then grilled to perfection for a deliciously charred finish. Perfect for parties or family dinners, this dish pairs beautifully with naan, rice, or a fresh salad. Enjoy a taste of India in your kitchen with this mouthwatering tandoori chicken recipe!
Ingredients:
- 2 lbs (900g) chicken pieces (legs, thighs, or bone-in breasts)
- 1 cup plain yogurt
- 2 tablespoons vegetable oil
- 2 tablespoons of lemon juice
- 4 cloves garlic, minced
- 1 tablespoon ginger, grated
- 2 teaspoons ground cumin
- 2 teaspoons ground coriander
- 1 teaspoon paprika
- 1 teaspoon turmeric
- 1 teaspoon garam masala
- 1 teaspoon cayenne pepper (adjust for spice level)
- Salt to taste
- Fresh cilantro, for garnish
- Lemon wedges, for serving
Instructions:
- Prepare the Marinade:
In a large bowl, mix the yogurt, vegetable oil, lemon juice, minced garlic, grated ginger, cumin, coriander, paprika, turmeric, garam masala, cayenne pepper, and salt until well combined. - Marinate the Chicken:
Add the chicken pieces to the marinade, ensuring they are well coated. Cover the bowl with plastic wrap and refrigerate for at least 4 hours, preferably overnight for the best flavor. - Preheat the Oven:
Preheat your oven to 425°F (220°C). If you have a grill or tandoor, you can use that for an authentic smoky flavor. - Prepare the Baking Sheet:
Line a baking sheet with aluminum foil and place a wire rack on top. This allows the heat to circulate around the chicken and helps achieve a crispy texture. - Bake the Chicken:
Remove the chicken from the marinade and shake off any excess. Arrange the chicken pieces on the wire rack. Bake for about 30-35 minutes or until the chicken is cooked through and has a nice charred appearance. If using a grill, cook over medium-high heat, turning occasionally, until cooked through (about 20-25 minutes). - Serve:
Once cooked, remove the chicken from the oven or grill and let it rest for a few minutes. Garnish with fresh cilantro and serve with lemon wedges on the side.
Enjoy your spicy, smoky, and bursting with flavor Authentic Tandoori Chicken! 🔥
9️⃣ The Best Chocolate Chip Cookies – Crispy on the edges, chewy inside! 🍪

Indulge in The Best Chocolate Chip Cookies, where crispy edges meet a chewy, gooey center! This easy recipe features rich chocolate chips and a perfect balance of sweetness, making these cookies a timeless favorite. Whether you’re baking them for a special occasion or just for fun, these delicious cookies are ready in under 30 minutes. Enjoy them warm with a glass of milk, or share them with friends and family for the ultimate treat!
Ingredients:
- 2 1/4 cups all-purpose flour
- 1/2 teaspoon baking soda
- 1 teaspoon salt
- 1 cup unsalted butter, softened
- 3/4 cup granulated sugar
- 3/4 cup packed brown sugar
- 1 teaspoon vanilla extract
- 2 large eggs
- 2 cups semi-sweet chocolate chips
- 1 cup chopped nuts (optional)
Instructions:
- Preheat the Oven:
Preheat your oven to 350°F (175°C) and line baking sheets with parchment paper. - Mix Dry Ingredients:
In a small bowl, whisk together the flour, baking soda, and salt. Set aside. - Cream Butter and Sugar:
In a large mixing bowl, cream together the softened butter, granulated sugar, brown sugar, and vanilla extract until light and fluffy (about 2-3 minutes). - Add Eggs:
Add the eggs one at a time, mixing well after each addition. - Combine Mixtures:
Gradually add the dry ingredient mixture to the wet ingredients, mixing until just combined. Be careful not to overmix. - Fold in Chocolate Chips:
Gently fold in the chocolate chips and nuts (if using). - Scoop the Dough:
Use a cookie scoop or tablespoon to drop rounded balls of dough onto the prepared baking sheets, spacing them about 2 inches apart. - Bake the Cookies:
Bake in the preheated oven for 10-12 minutes or until the edges are golden brown. The centers may look slightly underbaked but will firm up as they cool. - Cool and Serve:
Remove the cookies from the oven and let them cool on the baking sheets for about 5 minutes before transferring them to wire racks to cool completely.
Enjoy your crispy-on-the-edges, chewy-inside The Best Chocolate Chip Cookies! 🍪
🔟 Classic Cheesecake – Creamy, rich, and melt-in-your-mouth good! 🍰
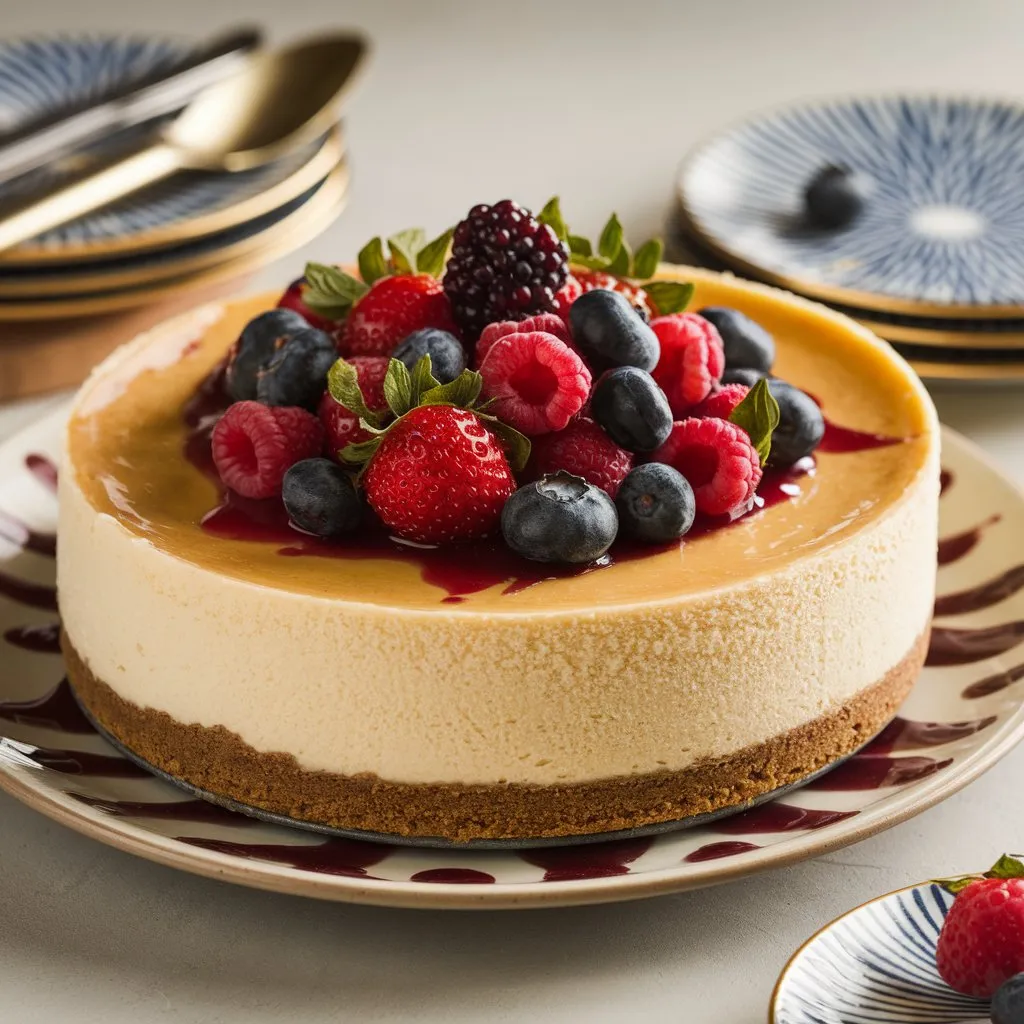
Treat yourself to Classic Cheesecake, a creamy, rich dessert that’s melt-in-your-mouth good! This easy recipe features a smooth and velvety cheesecake filling atop a buttery graham cracker crust, perfectly balanced with just the right amount of sweetness. Ideal for any occasion, this cheesecake can be enjoyed plain or topped with fresh berries, chocolate, or caramel. Impress your guests and satisfy your sweet tooth with this timeless dessert that never goes out of style!
Ingredients:
For the Crust:
- 1 1/2 cups graham cracker crumbs
- 1/4 cup granulated sugar
- 1/2 cup unsalted butter, melted
For the Filling:
- 4 (8 oz) packages cream cheese, softened
- 1 cup granulated sugar
- 1 teaspoon vanilla extract
- 4 large eggs
- 1 cup sour cream
- 1 tablespoon all-purpose flour (optional, for stability)
For the Topping (optional):
- Fresh berries, chocolate sauce, or fruit compote
Instructions:
- Preheat the Oven:
Preheat your oven to 325°F (160°C). - Prepare the Crust:
In a medium bowl, combine graham cracker crumbs, granulated sugar, and melted butter. Mix until well combined. Press the mixture firmly into the bottom of a 9-inch springform pan to form an even layer. Bake for 10 minutes, then remove from the oven and let it cool while you prepare the filling. - Make the Filling:
In a large mixing bowl, beat the softened cream cheese until smooth and creamy. Gradually add the granulated sugar and vanilla extract, mixing until well combined. - Add the Eggs:
Add the eggs one at a time, mixing on low speed just until incorporated after each addition. Avoid overmixing. - Incorporate Sour Cream:
Gently fold in the sour cream and flour (if using) until smooth. - Pour the Filling:
Pour the cheesecake filling over the cooled crust in the springform pan. - Bake the Cheesecake:
Bake in the preheated oven for 55-65 minutes or until the edges are set but the center is still slightly jiggly. Turn off the oven and leave the cheesecake inside with the door slightly ajar for about 1 hour to cool gradually. - Chill the Cheesecake:
Remove the cheesecake from the oven and let it cool to room temperature. Once cooled, cover and refrigerate for at least 4 hours, preferably overnight. - Serve:
Once chilled, remove the cheesecake from the springform pan. Top with fresh berries, chocolate sauce, or fruit compote if desired. Slice and serve!
Enjoy your creamy, rich, and melt-in-your-mouth Classic Cheesecake! 🍰

